Someone at Valve, it seems, felt the same way. While updating Steam today I noticed this line among the list of the usual technical changes, "Grid view now supports applying custom images to games and shortcuts, via the grid item's context menu." A quick right click on a grid item later and sure enough, there it is.

Following the link will give you the dimensions, 460x215 pixels, for use in your favorite graphic program.
I'm going to be using GIMP myself, and for simplicity's sake I'm just going to modify a wallpaper image for both Minecraft and Neverwinter Nights Diamond Edition, non-Steam games added to my library. So, first things first, find an appropriate image.
For Minecraft I've found 2 images with a quick Google search right away. The first is pretty true to Minecraft's colorful style and simplicity.
The other has a more stylized and modern look to it:
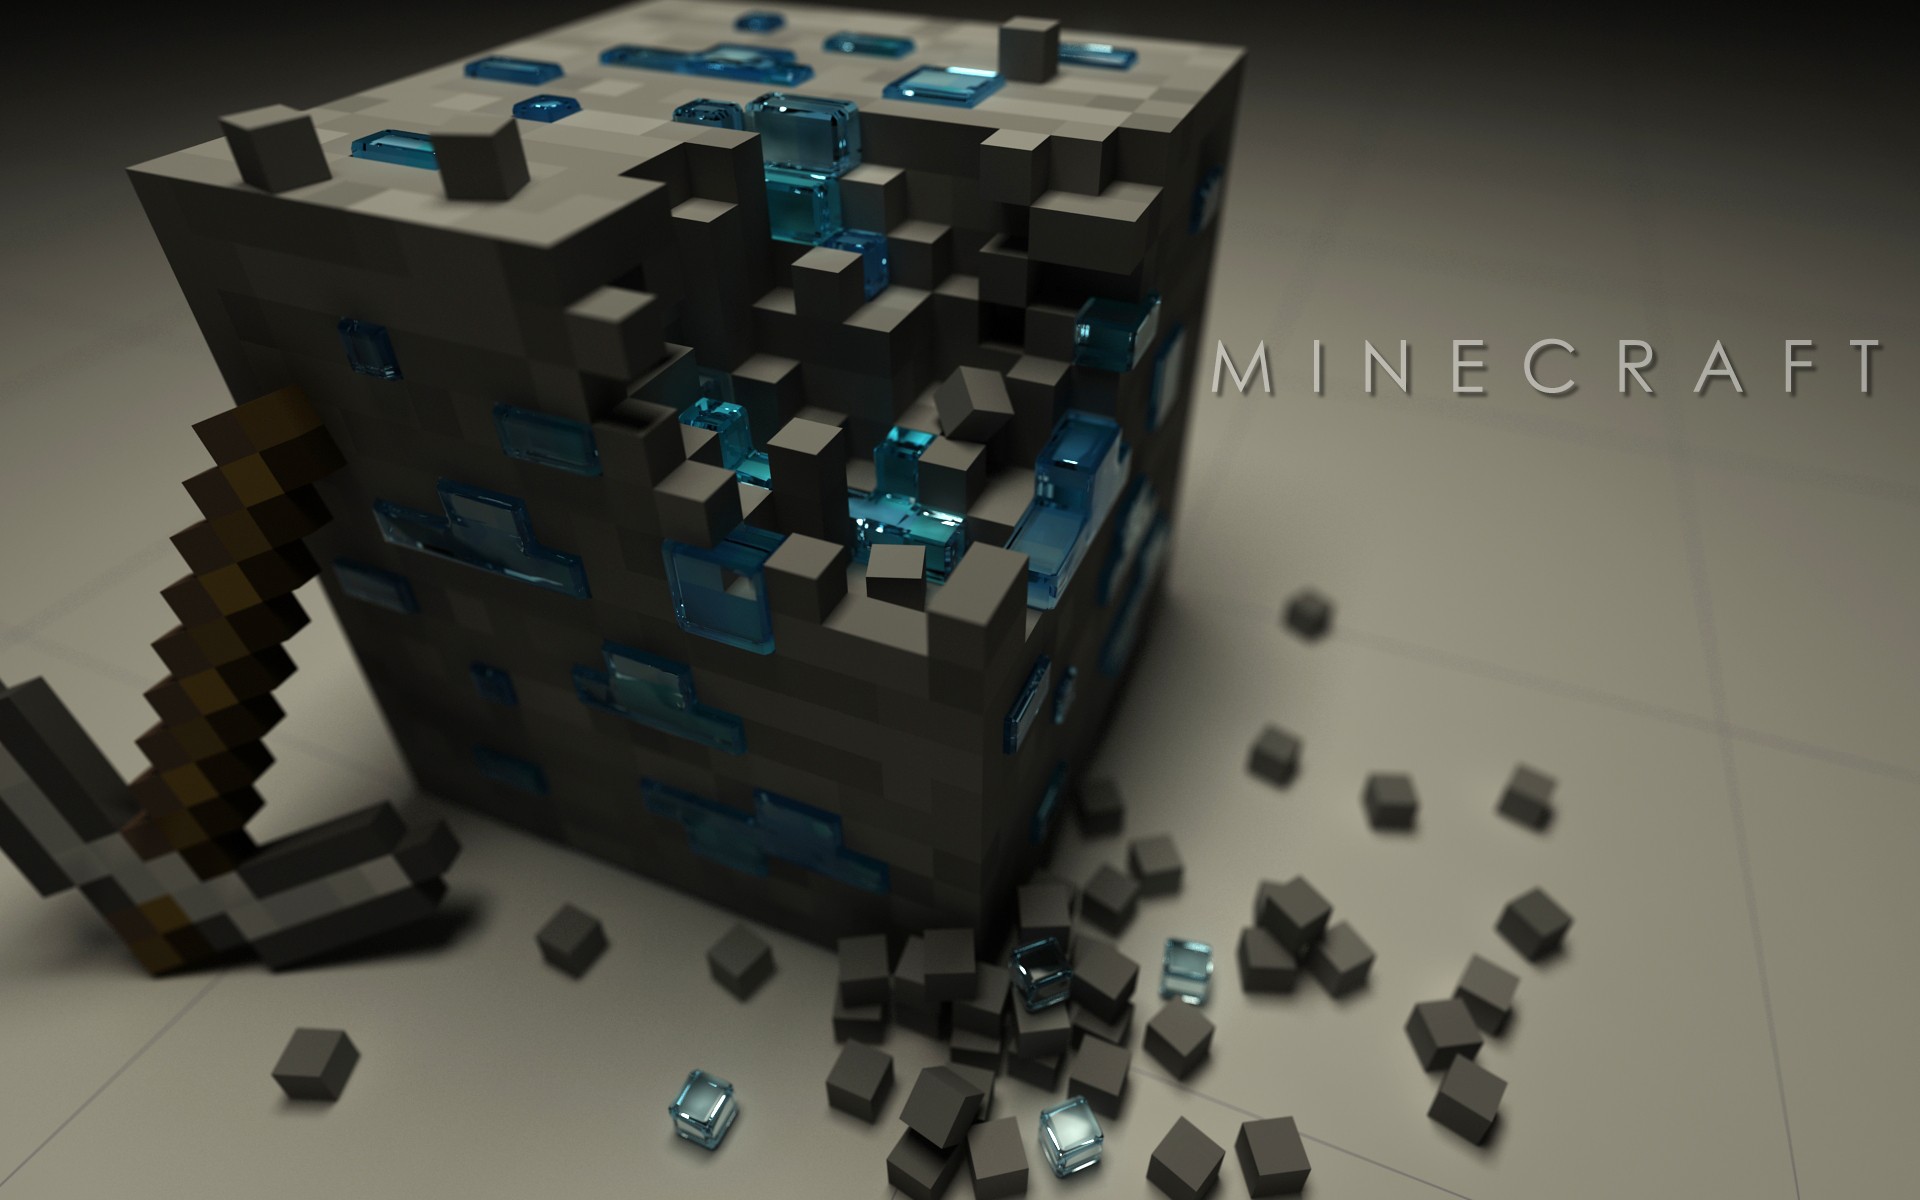
But I think I'm going to just use a screen with no text, so I can add my own later. Probably the single most iconic thing about Minecraft, aside from the blocky style of the game and the pickaxe as seen in the image above, is the menacing Creeper enemy from the game.
| If you look closely, you can see a player character peeking around at the creeper from behind the blocks lol! |
The image above has the Creeper and the ubiquitous dirt blocks that most any player will instantly recognize as having a Minecraft origin. So I'm going to use that for my custom image, so when scrolling through my games I'll instantly recognize the picture without need of reading through the game list.
The process for making a custom image is actually pretty simple. Step one, open up the original image in GIMP. Step 2, create a new image in GIMP with the proper dimensions for the custom image, as per Steam's recommendations:

Next, make sure you've selected the original image, and use the edit > copy visible to copy the image:

Then select our NEW image and use Edit > Paste as > new layer:

The next steps depend on what you want to do with the image. Here, I've scaled the layer with the creeper image to make it smaller and thus more visible in the smaller frame:


And inputting the image into Steam was ridiculously easy:

And there we have it. Dirt simple, and damn that looks much nicer now. Thanks Valve!
No comments:
Post a Comment